Full Width Image component
Use a full width image on a landing page.
This guide demonstrates how to add a full-width image on a landing page using the Full Width Image component.
Note - The Full Width Image Component can only be used on a landing page, not a basic page.
Step by step
To add the Full Width Image component:
- On the landing page you are creating or editing, select the Component tab. Then, tap the Components drop-down.

- Choose Add Full Width Image Component.
- The full-width image component will appear. Complete the following fields that will be displayed:
- Image - Add an image, which will display as a full-width image at the top of your landing page. Review DAS's helpful hints for writing alt text for images.
- To add an image from your desktop - Select Choose File, then select an image from your desktop.
- To add an image from your saved Drupal images - Select Add Media, then select an image from the existing images.
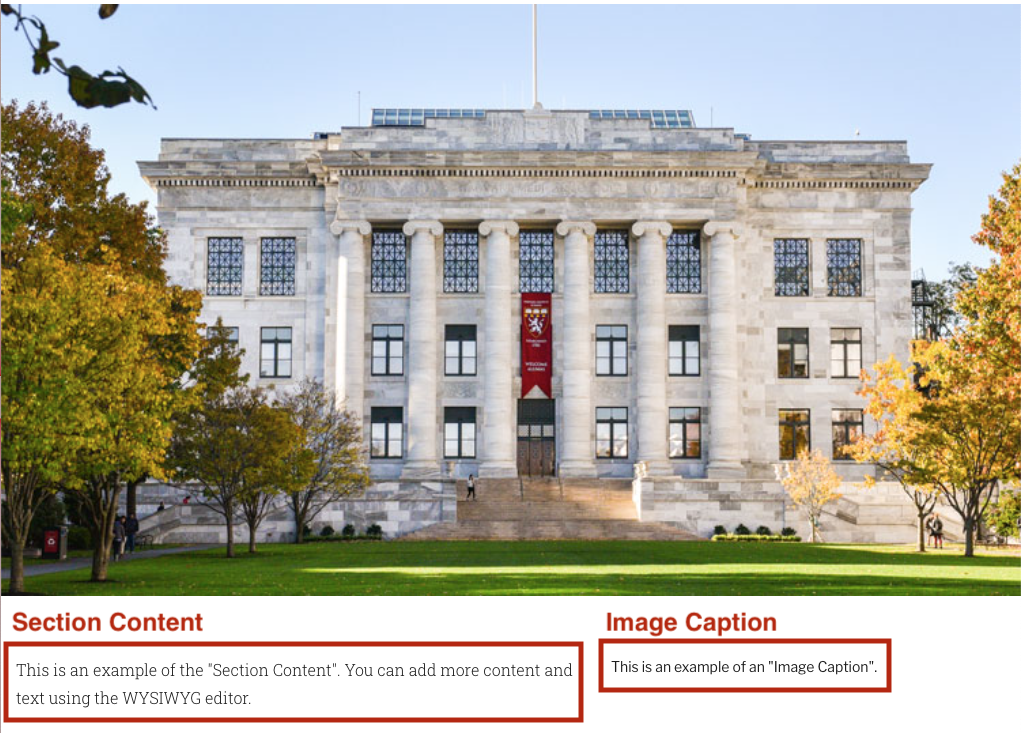
- Image Caption - If desired, add a short description to provide context about the image. This will appear as small text at the bottom right of the image.
- Section Content - If desired, add a longer description to provide more information. This will appear as medium-sized text at the bottom left of the image.
- Image - Add an image, which will display as a full-width image at the top of your landing page. Review DAS's helpful hints for writing alt text for images.
- To delete the entire image, tap Remove. Then, tap Confirm removal.
- Select Save. If you are ready to publish your page, ensure the Published toggle is enabled (green in color).
Example
Front-end
Back-end
