Upload an image
Upload an image from your desktop to your page.
This guide demonstrates how to upload an image to your page using the WYSIWYG editing toolbar.
Step by step
To upload an image:
- Select the image link icon from the WYSIWYG editing toolbar.

- The "Add or select media" window will appear. You can either upload your own file or choose from the image library, which consists of media materials uploaded by the HMS Web Team (complete with alt text) and media you have previously uploaded.
- To upload your own file:
- Select Choose File.
- Select an image from your desktop.
- The image will appear. Enter alternative text for the image. If needed, review DAS's helpful hints for writing alt text for images.
- Select Save and select to save the image to your image library. This will lead you back to the "Add or select media" window. Select Save and insert to insert the image directly into your page.
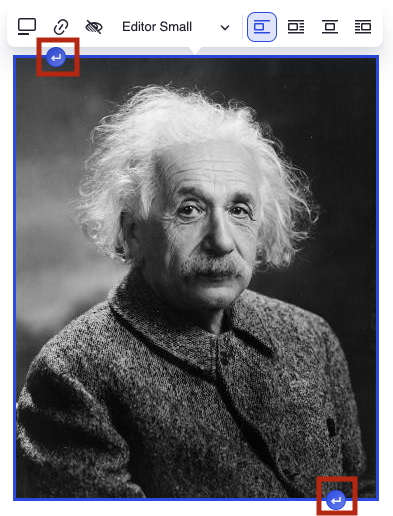
Your image will now appear on the page. Select the top arrow to enter a space above the image. Select the bottom arrow to enter a space below the image
Use the image toolbar to edit the image:

- Caption - Select the rectangle with a line icon (furthest to the left) to toggle on a caption.
- Link - Select the chain link icon to link the image. Enter the URL destination. If desired, enter a title. Then, select the green check.
- Alternative text - Select the eye with a diagnal line icon to edit to the existing alternative text. Mark the image as decorative or enter new alternative text in the "Alternative text override" field. Then, select the green check.
- Re-size - Select the Editor drop-down menu and select your desired size.
- Editor Full - Image will become full (largest).
- Editor Large - Image will become large.
- Editor Small - Image will become small.
- Thumbnail - Image will become a thumbnail (smallest).
- Alignment - To realign the image:
- Break text - Select the first icon to have the image left-aligned with text above and below the image.
- Align left and wrap text - Select the second icon to have the image left-aligned with text wrapped to the right of the image.
- Align center and break text - Select the third icon to have the image centered with text above and below the image.
- Align right and wrap text - Select the second icon to have the image right-aligned with text wrapped to the left of the image.